Creating 3D Scenes with Voice Input and AI
The Idea
This weekend, I saw a very interesting video showing a guy controlling Blender with his voice through Gemini 2.0. He is essentially giving instructions to Gemini, while sharing his screen, to generate Python scripts that he can run within Blender. With a little bit of UI automation, we is able to achieve a very nice interaction with Blender. The idea is brilliant and I immediately started thinking on how to improve it.
My first thought was to create a Blender plugin that would do this out of the box. But then I realized that no Blender user would want to use a voice based interface to explain to an AI which vertex they want to move a little bit to the left. However non technical users would love this. Especially non technical users who can’t read or write or understand a program as complex as Blender: Kids!
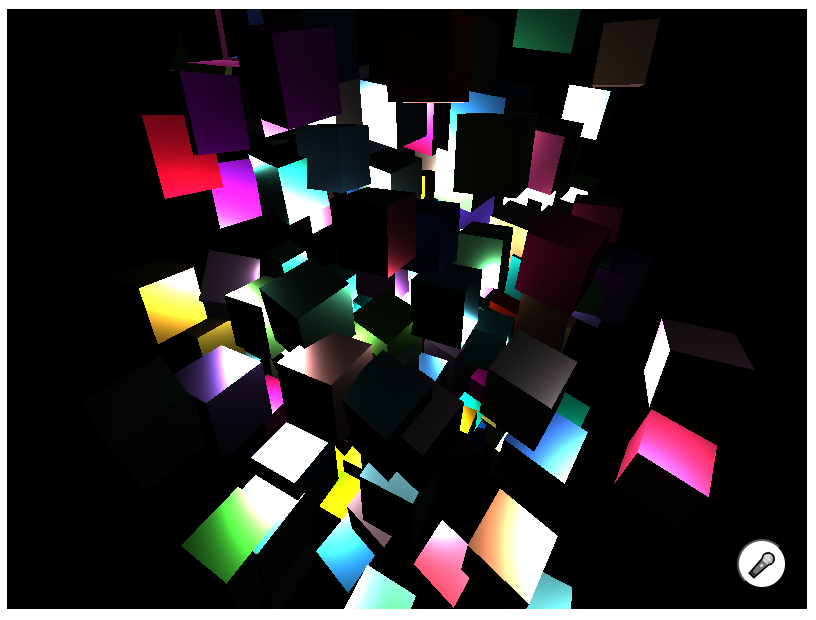
So I decided to create an AI web application for 3d modelling for kids that is controlled by voice. The client would have a blank Three.js scene and capture the voice input using the Speech Recognition API, send it to the backend, and then the backend would send the instructions to OpenAI and ask it to generate some JavaScript code. The code would be returned to the client and then the client would execute that code that would update the 3d scene.
While this model may apply to anything from creating 3d scenes, drawing 2d graphics, making loop based music or even making videogames, I decided to give it a go with Three.js just to get a feel of the common issues.
Server
I started by setting up a basic Express server to handle HTTP requests and serve static files. The server also includes an endpoint to process voice commands and generate scene updates using OpenAI’s API.
import express from 'express';
import path from 'path';
import OpenAI from 'openai';

const app = express();
app.use(express.json());

app.get('/', (req, res) => {
    res.sendFile(path.join(__dirname, 'index.html'));
});

const openai = new OpenAI();

app.post('/voice-command', async (req, res) => {
    const { sessionId, command, imageData } = req.body;
    const sceneUpdate = await generateSceneUpdate(sessionId, command, imageData);
    res.json({ status: 'success', command, sceneUpdate });
});

const PORT = process.env.PORT || 3000;
app.listen(PORT, () => {
    console.log(`Server is running on port ${PORT}`);
});
Client
The frontend consists of an HTML file with a canvas element for rendering the 3D scene and a button to start voice recognition. I used Three.js to set up the 3D scene, including the camera, renderer, and animation loop.
<!DOCTYPE html>
<html lang="en">
<head>
    <meta charset="UTF-8">
    <meta name="viewport" content="width=device-width, initial-scale=1.0">
    <title>3D AI Project</title>
    <script src="https://cdnjs.cloudflare.com/ajax/libs/three.js/r128/three.min.js"></script>
</head>
<body>
    <div id="canvas-container"></div>
    <button id="record-button">🎤</button>
    <script>
        const canvasContainer = document.getElementById('canvas-container');
        const scene = new THREE.Scene();
        const camera = new THREE.PerspectiveCamera(75, window.innerWidth / window.innerHeight, 0.1, 1000);
        const renderer = new THREE.WebGLRenderer();
        renderer.setSize(window.innerWidth, window.innerHeight);
        canvasContainer.appendChild(renderer.domElement);
        camera.position.z = 5;

        function animate() {
            requestAnimationFrame(animate);
            renderer.render(scene, camera);
        }
        animate();
    </script>
</body>
</html>
Speech Recognition
To capture voice commands, I used the Web Speech API. When the user clicks the record button, the browser starts listening for voice input. Once a command is recognized, it is sent to the server along with a snapshot of the current canvas.
const recordButton = document.getElementById('record-button');
const SpeechRecognition = window.SpeechRecognition || window.webkitSpeechRecognition;
const recognition = new SpeechRecognition();
recognition.lang = 'en-US';
recognition.interimResults = false;

recognition.onresult = function(event) {
    const voiceCommand = event.results[0][0].transcript;
    const canvas = document.querySelector('canvas');
    const imageData = canvas.toDataURL('image/png');

    fetch('/voice-command', {
        method: 'POST',
        headers: {
            'Content-Type': 'application/json'
        },
        body: JSON.stringify({ sessionId, command: voiceCommand, imageData })
    })
    .then(response => response.json())
    .then(data => {
        eval(data.sceneUpdate);
    }).catch((error) => console.error('Error:', error));
};

recordButton.addEventListener('click', () => {
    recognition.start();
});
Generating Scene Updates
The server processes the voice command and image data, then uses OpenAI’s API to generate a JavaScript snippet that updates the 3D scene. This snippet is sent back to the client and executed to reflect the changes in real-time.
async function generateSceneUpdate(sessionId, voiceCommand, imageData) {
    const messages = [{ role: 'system', content: 'You are a JavaScript coding assistant...' }];
    const response = await openai.chat.completions.create({
        messages: messages.concat({ role: 'user', content: voiceCommand }),
        model: "gpt-4o-mini",
    });
    const message = response.choices[0].message;
    return message.content.replace(/\n/g, '\n');
}
If you’re interested in learning more, forking or contributing to the project, check out the GitHub repository.
Happy coding!